How To Make A Diaper Bag
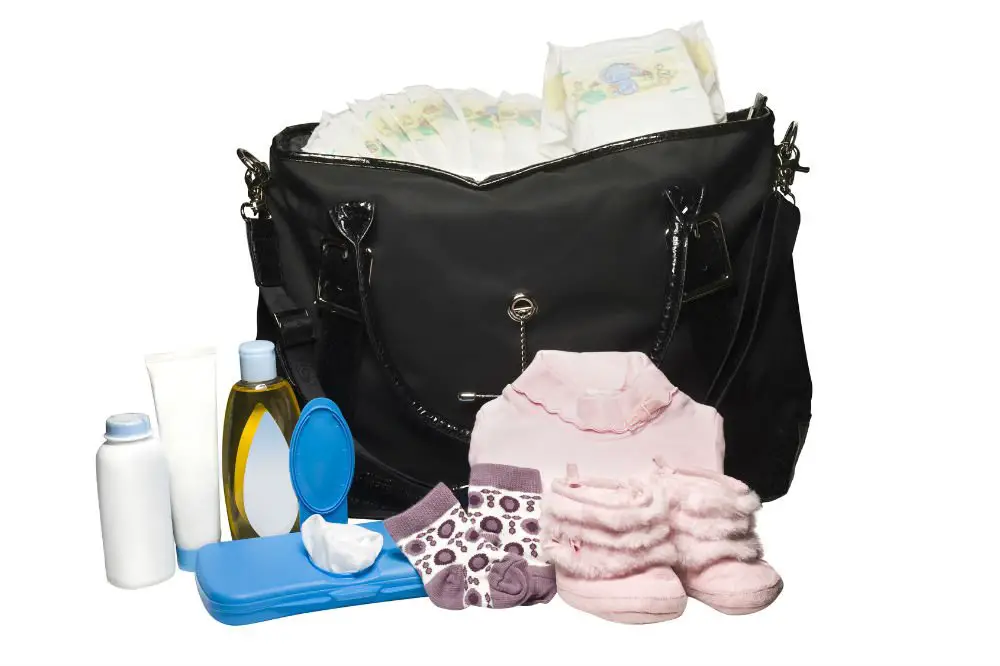
Diaper bags are an essential for parents with babies or toddlers around them. It allows parents to go out and about without having to worry about not having access to the necessary items that their child needs. Parents also need not worry about any meltdowns and blowouts because their children cannot have their milk or need their regular diaper change.
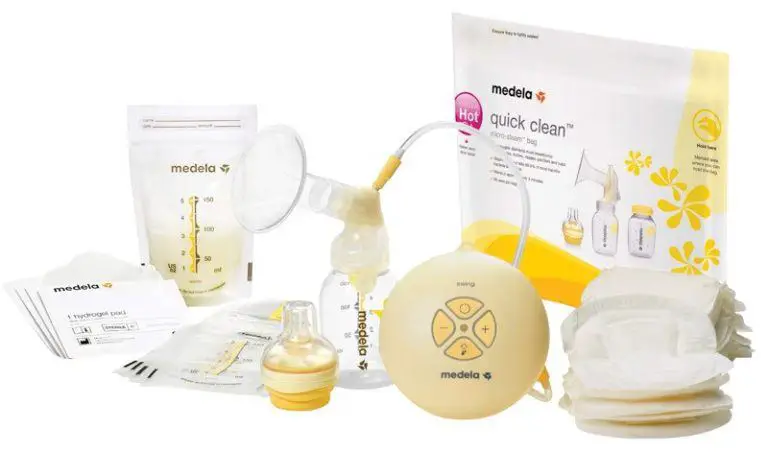
Furthermore, having a diaper bag will also enable you to keep bottles, snacks, toys, books or any other of your necessities so that you can take your family on the road conveniently.
In other words, a diaper bag is a lifesaver because it ensures that you have the right things at the right time and prevent the possibility of meltdowns in the middle of the public places.
Do you need a diaper bag?
Let’s get real here. Kids are unpredictable. This makes it very difficult for you to predict what’s going to happen ahead. Before you leave the house, they might be in a perfectly good mood, and they may not show any signs of meltdown.
However, the moment you step out of the house, it might be a completely different story. Your child may have had lunch at home, but just a few minutes later when you bring her out, she might want to have a snack.
If your child usually poops in the morning, you might find also find it inconvenient if you’re going out and they suddenly have an accidental blowout.
This might happen anywhere, on a boat, plane, or even when you’re shopping. By being able to keep the essentials in your bag, you have a sense of safety when you are out and about.
Parents feel more equipped to deal with all of these tantrums, as well as unexpected accidents when they packed the necessities in their diaper bag. That said, there are alot of ways that you can store your necessities. This can include aregular backpack, tote bag over even a diaper bag.
Different styles of diaper bags
Diaper bags come in various styles, which ranges from backpacks, tote bags to cross bodies. Some parents prefer to use stylish purses, which also doubles as a diaper bag so that they can multitask and look good doing it. As you are expected to use the diaper bag from birth until up to preschool days, it is essential that you get a diaper bag that you can stick with.
For parents looking for an economic approach to diaper bags, making their diaper bag is a great option. Although it may take some time and skills to do it, it is still a great DIY project that you can try out during your free time.
DIY diaper bag design
For this tutorial, we will creating a diaper bag that has a lot of pockets which will keep you organized. This diaper bag also has a wide base that will enable it to stand up easily in the car.
You can keep all the neccessities for your child which includes cloth diapers, toys, snacks or baby bottles for a day in the park. For safety, use a zip and use handles which are long enough to throw over your shoulders.
Materials you need
- 1 yard of exterior fabric
- ½ yard of accent fabric
- 1 yard of lining fabric
- 3 ½ yard of fusible woven interfacing
- 1 yard of fusible fleece
- All purpose zipper
- Sport separating zipper
- D-rings
Step by step guide
1. Getting started
Fuse the woven interfacing into the wrong side of the fabric using an iron. Then, fuse the fleece to the upper and lower external parts.
2. Create the handles
Grab two strips of your interfacing fabric to the wrong side of the handle. Then, slightly overlap it into the center. Fold each of the long edge towards the center.
Fold the handle into half and press it with an iron. Open the folds and insert fusible fleece in them. Topstitch 1/8 inch away from the edge. Cut two pieces of 3 inches piece to make the D-ring tabs. Fold the handle into half again and sew on top of existing stitches.
3. Sew the exterior panel
Thread a tab through each D-ring and put the tab ends together. Make four altogether. Position the d-ring away from each side of the lower exterior panel. Once you are done dong that, place the tabs between the two panels for the upper exterior panel. Pin to keep them in place.
Sew the panels together and sew the tabs for the second time. Topstitch about 1/8 inch away from the seam of the lower panel. Repeat with the other panel.
4. Make the exterior pockets
Fold the pocket fabric into half. Use pressing cloth to fuse the fleece. It is not necessary to fuse the fleece all way until the edge. Fold the pocket into half and make sure the fleece is facing out. Then, turn the pocket inside out and topstitch it away from the folded edge.
5. Make the small inside pocket and zipper pocket
Place the two small pocket pieces together. Sew around all of the sides and leve a 3 inch opening on one side. Turn the pocket right side out using the opening. Topstich the long side. Place the zipper pocket piece on the lining over the pocket. Stitch around the outer rectangle. Push the pocket fabric through the cut window and press.
6. Make large inside pockets
Put two interior pocket pieces together and start sewing one long side. Turn the pocket pieces inside out. sew a line of stitches 1/8 inch away from the seam edge.
7. Install zipper
Mark the back side of your zipper on one of the ends. This will make it easy for you to remember which one is the back side. Fold the top zipper end into the seam towards the lining. Sew along the ¼ inch seam allowance.
8. Install the bottom panel
Find the center of each side for the exterior bottom panel. With right sides together, pin along each long side and sew all the way through. line up the bottom panel against the exterior side seam. Pin and stitch them. Repeat the steps for all the other sides.
9. Finishing touches
Turn the bag inside out using the opening in the lining. Push the lining inside and press along the edge of the zipper. Topstitch the zipper seam. Lastly, attach the handles by threading the end of the D-ring. You now have a fully functional diaper bag!